Homemade Vegan Rice Krispies Treats Recipe (Gluten-Free)
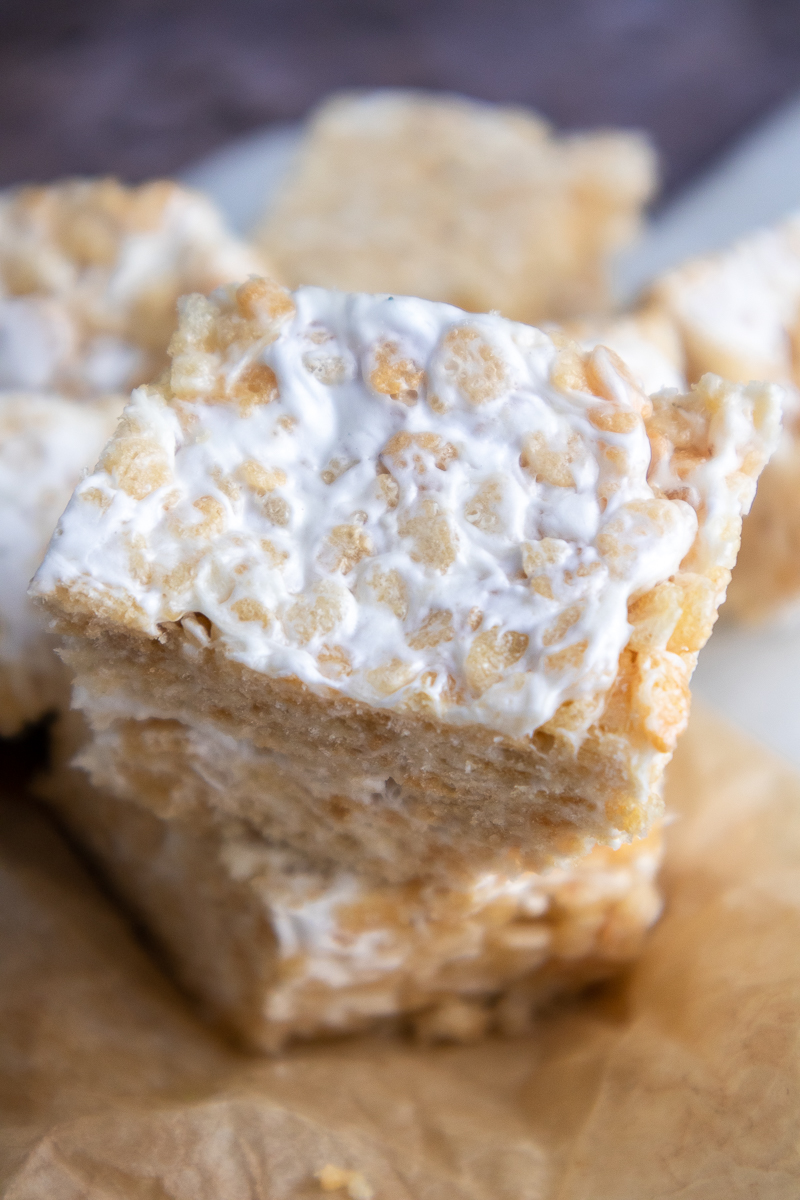
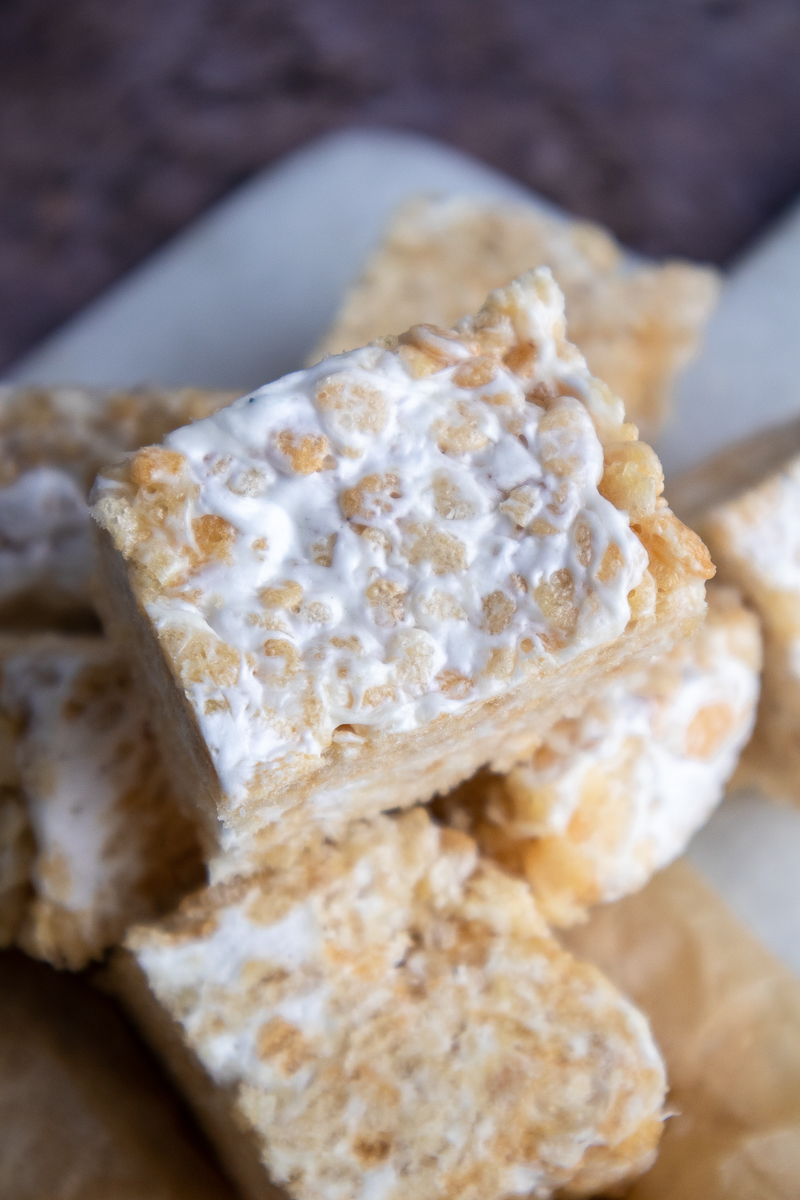
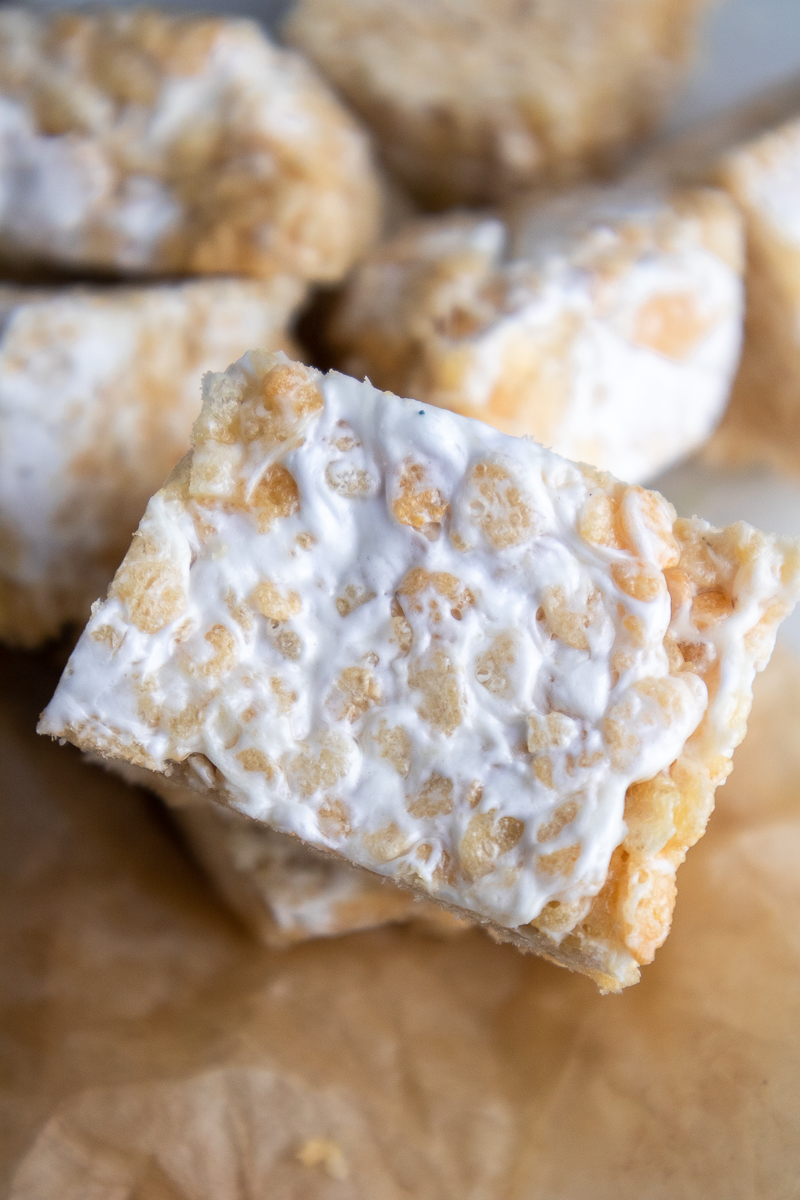
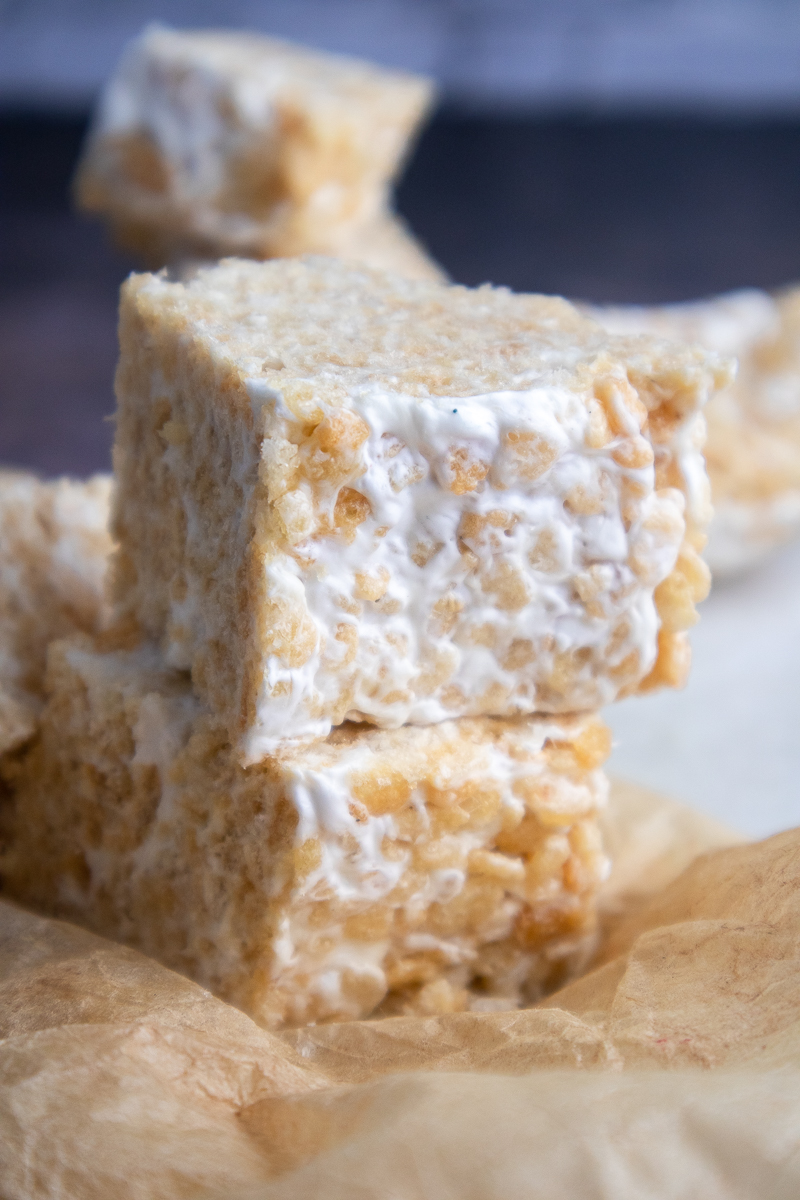
Today we are making a (Gluten-Free) Homemade Vegan Rice Krispies Treats Recipe! This childhood favorite is a timeless classic in the world of snacks. They’re like little squares of joy, made from crispy rice cereal bound together by gooey, marshmallow goodness. The result? A delightful combination of chewy and crispy treat recipe that’s oh-so-satisfying.
But here’s the twist – we’re taking this classic treat and giving it a wholesome makeover. We’re making it gluten-free and vegan without sacrificing an ounce of deliciousness. So whether you’re following a specific dietary lifestyle or just looking for a no bake dessert, you’re in for a treat!
In this post, I’ll walk you through all the steps to create these mouthwatering Rice Krispies treats. From the simple ingredients to swap and make them vegan, to tips on achieving that perfect gooey texture, this recipe has got you covered. So let’s dive right in and whip up a batch of these irresistible, chewy-crispy squares that are sure to make you want seconds and thirds!
Why You’ll Love This Homemade Vegan Rice Krispie Treats Recipe
Nostalgia Meets Vegan Twist: We’ve taken a beloved childhood treat and made it a gluten-free and vegan version to make it more inclusive for various dietary types. It’s like a trip down memory lane, but without as many additives when your Rice Krispies are being stored on a shelf for months. You can indulge in that familiar, delightful taste all while having no animal products!
Perfect for All Ages: Whether you’re making them for your little ones’ lunchboxes, as an after-school snack, or just to enjoy with friends over a cup of tea, these Rice Krispies treats are universally loved. They’re a hit with kids and adults alike.
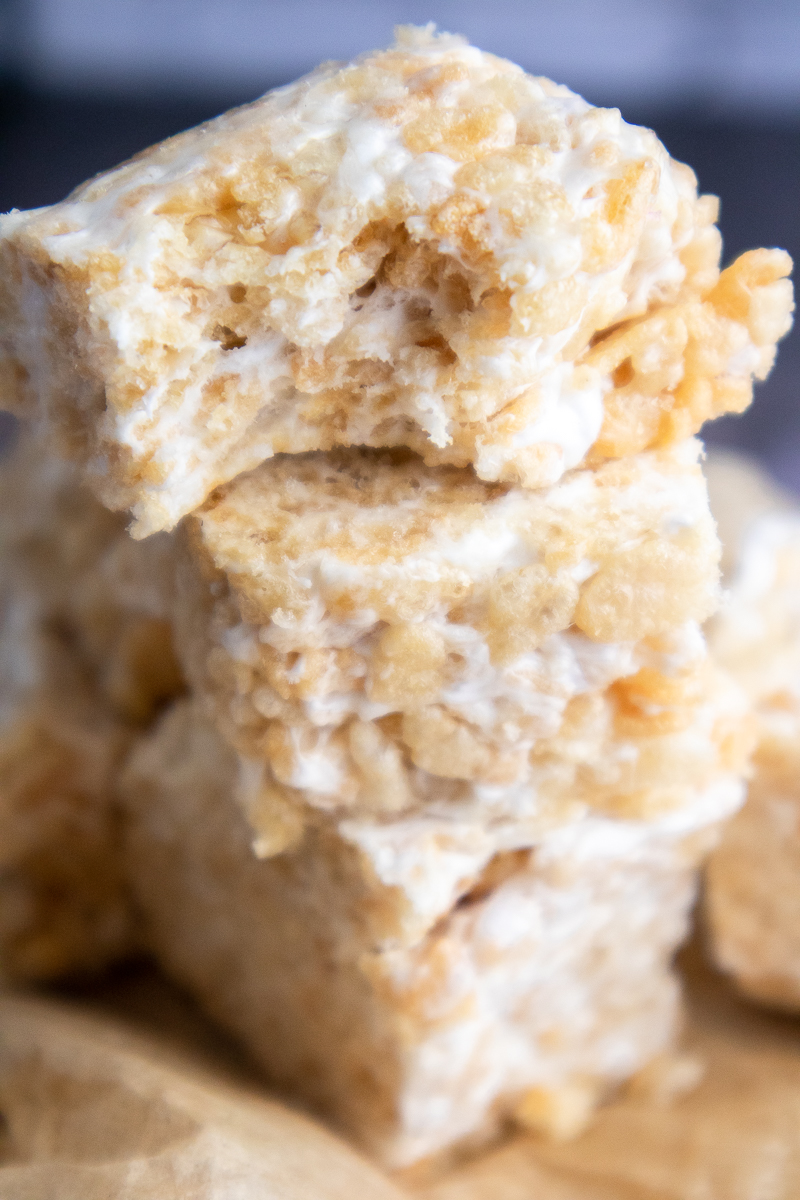
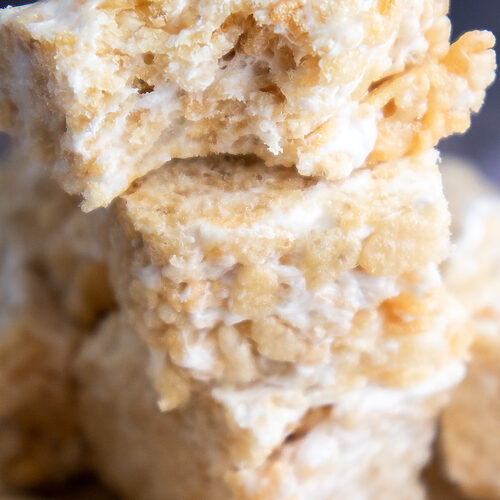
Satisfying Texture: The beauty of these vegan treats lies in the contrast of textures. It’s simultaneously gooey and crispy, creating a symphony of sensations in every bite. That’s what makes it so darn irresistible!
Substitutions
Vegan Butter: Do not use refined coconut oil or another substitute here. As the butter melts, it gives that rice krispy flavor and aroma when it toasts along with the melted marshmallows! I like using Melt brand of salted dairy-free butter sticks.
Rice Krispies: Use Rice Krispies cereal that’s certified gluten free. Another substitute can be puffed brown rice cereal or another gluten-free rice cereal, but it doesn’t give that same crisp rice cereal crunch. If you don’t need them to be 100% gluten-free, you can use regular Kellogg’s Rice Krispies cereal.
Vegan Marshmallows: Regular marshmallows are not vegan (or even vegetarian) because they contain gelatin. Gelatin is an animal-based food ingredient because it is a protein that is extracted by boiling animal parts (normally from cows or pigs) with water. Agar agar is a common vegan substitute that is used in replacement of vegan gelatin.
However, this amazing brand called Dandies makes the BEST vegan marshmallows. Their taste and texture is just like their commonly-used gelatin counterpart. They even melt just like regular marshmallows do on the stovetop in Rice Krispies recipes!
I buy their regular-sized vegan marshmallows, which are available at the grocery stores in my area. You can also buy them online. Alternatively, you can use the equivalent number of cups of the mini marshmallows version that this brand sells. The mini ones are way easier to melt and measure too.
Homemade Vegan Rice Krispies Treats Recipe Notes
- To avoid the marshmallow mixture sticking all over your hands as you pat the marshmallow mixture into the prepared pan, rub a little bit of vegan butter on your hands before handling it.
- To avoid the mixture sticking to the bottom of the baking pan, use parchment paper / wax paper to line the bottom.
- The rice krispies mixture can burn easily. Stir it constantly and keep it on medium-low heat as stated in the recipe card below.
- Love chocolate on everything (or just have a major sweet tooth)? Drizzle melted vegan dark chocolate chips over these Rice Krispies after patting down into the pan. Let it refrigerate to get the chocolate to set, then cut with a sharp knife for a chocolate topped crispy treats recipe!
- If you’re a fan of Reese’s Pieces, drizzle melted peanut butter over top of the chocolate, so make these Reese’s Rice Krispies!
More Recipes You’ll Love
Single-Serving Marshmallow Brownie
Vegan Oatmeal Chocolate Chip Cookies
Birthday Cake Funfetti Rice Krispies
Peanut Butter Chocolate Buckeye Rice Krispies
If you make this Homemade Vegan Rice Krispies Treats Recipe, then leave a comment and star rating! Don’t forget to tag your photos @peanut_palate on Instagram. Enjoy!
Homemade Vegan Rice Krispies Treats Recipe (Gluten-Free)
Equipment
- Large Pot
- Rubber Spatula
- Baking Tray
Ingredients
- 6 tbsp vegan butter
- ½ tsp vanilla extract
- pinch pink salt
- 1 10-ounce bag vegan marshmallows
- 3½ cups gluten-free Rice Krispies
Instructions
- In a stovetop pot over low heat, add in the butter, salt and vanilla. Stir to combine with a rubber spatula.
- Once combined, add in the marshmallows.
- Keep stirring until the butter and marshmallows are melted and it becomes one mixture. Turn off the heat.
- Add the crisp cereal to the mixture, one cup at a time, stirring in between until mixed.
- Once it all becomes one big mixture, pat the cereal mixture down into a square baking tray lined with wax paper or greased.
- Make sure your hands are greased with butter to be able to pat down the mixture (otherwise the marshmallows will stick to your hands and it'll be impossible to pat down).
- Let them set for 20 minutes at room temperature. Once they have cooled down, cut into 9 squares and enjoy!
Notes
-
Storage
- Store in an airtight container or covered in plastic wrap at room temperature for up to four days.

