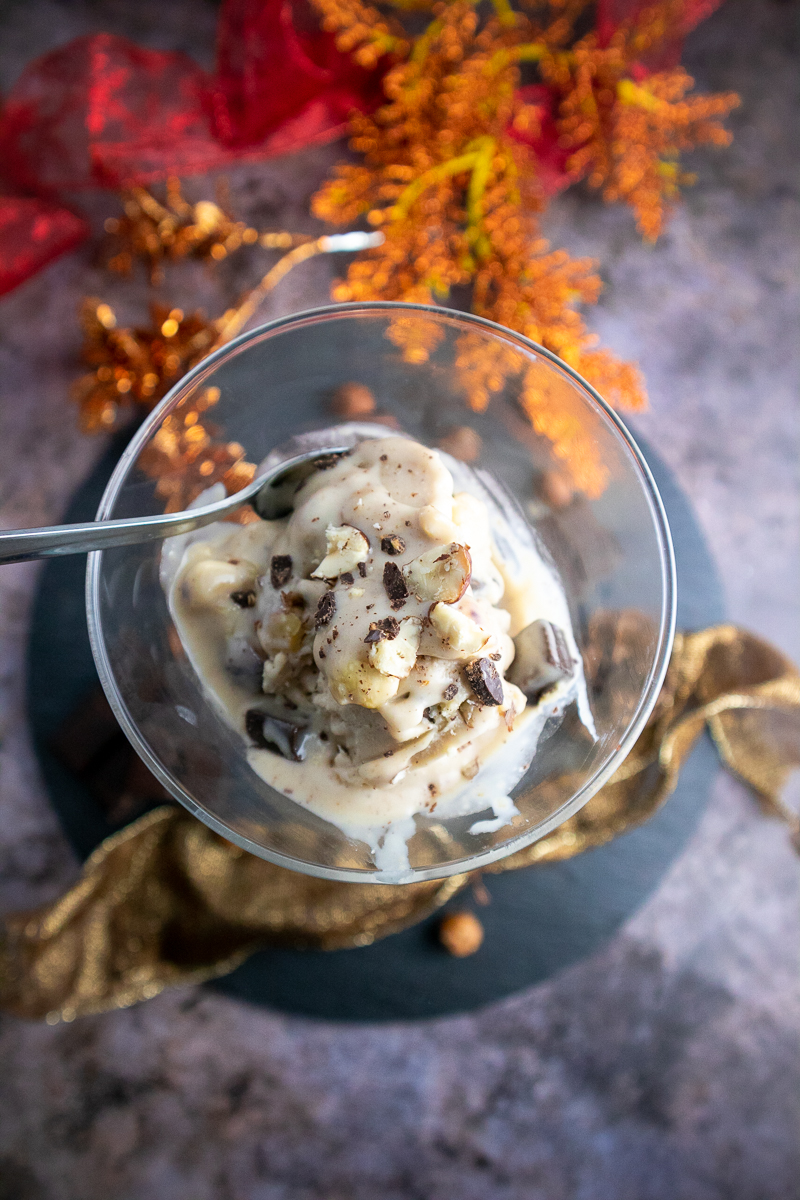
No-Churn Chocolate Chunk Hazelnut Ice Cream
Today we are making a No-Churn Chocolate Chunk Hazelnut Ice Cream! Who doesn’t love the indulgence of rich, creamy ice cream, especially when it’s homemade and bursting with decadent flavors? This No-Churn Chocolate Chunk Hazelnut Ice Cream brings together the smoothness of coconut milk and cashew butter, balanced with the nutty depth of tahini and a hint of pink salt for that perfect sweet-and-salty contrast. It’s a no-fuss, dairy-free recipe that’s so creamy, you’d never guess it doesn’t require an ice cream maker!
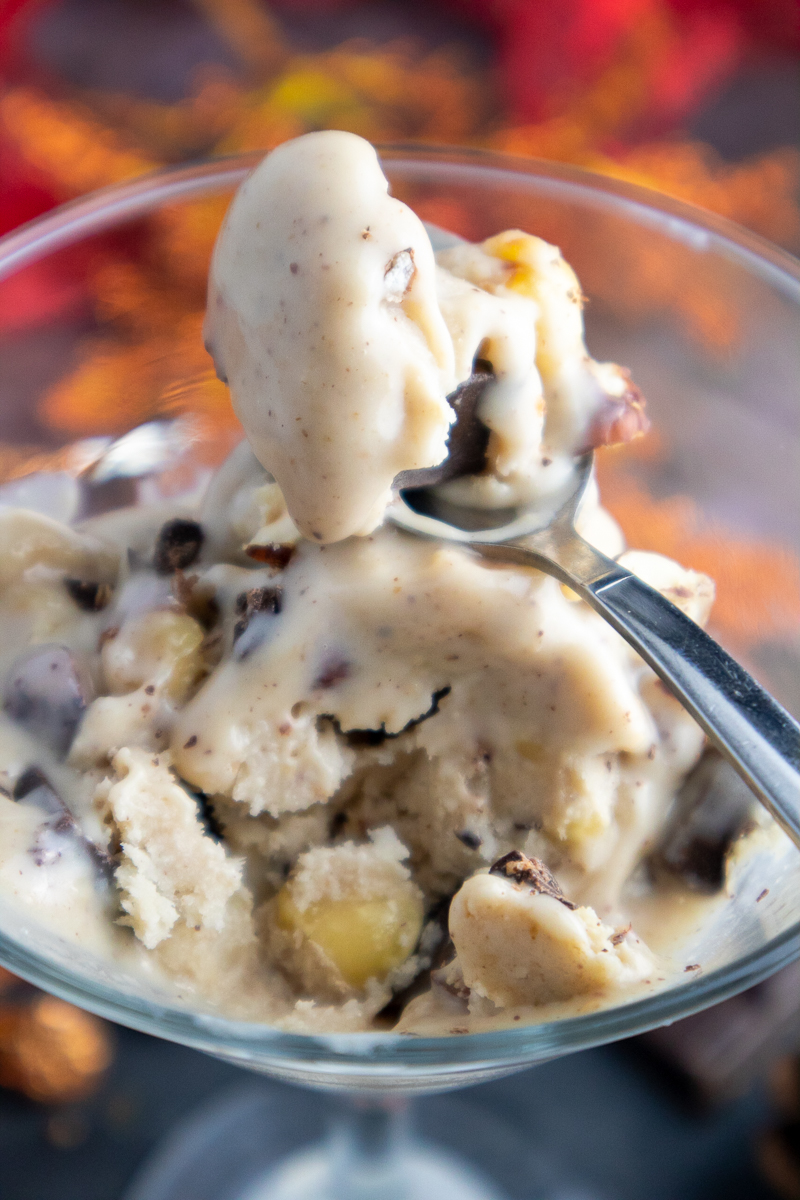
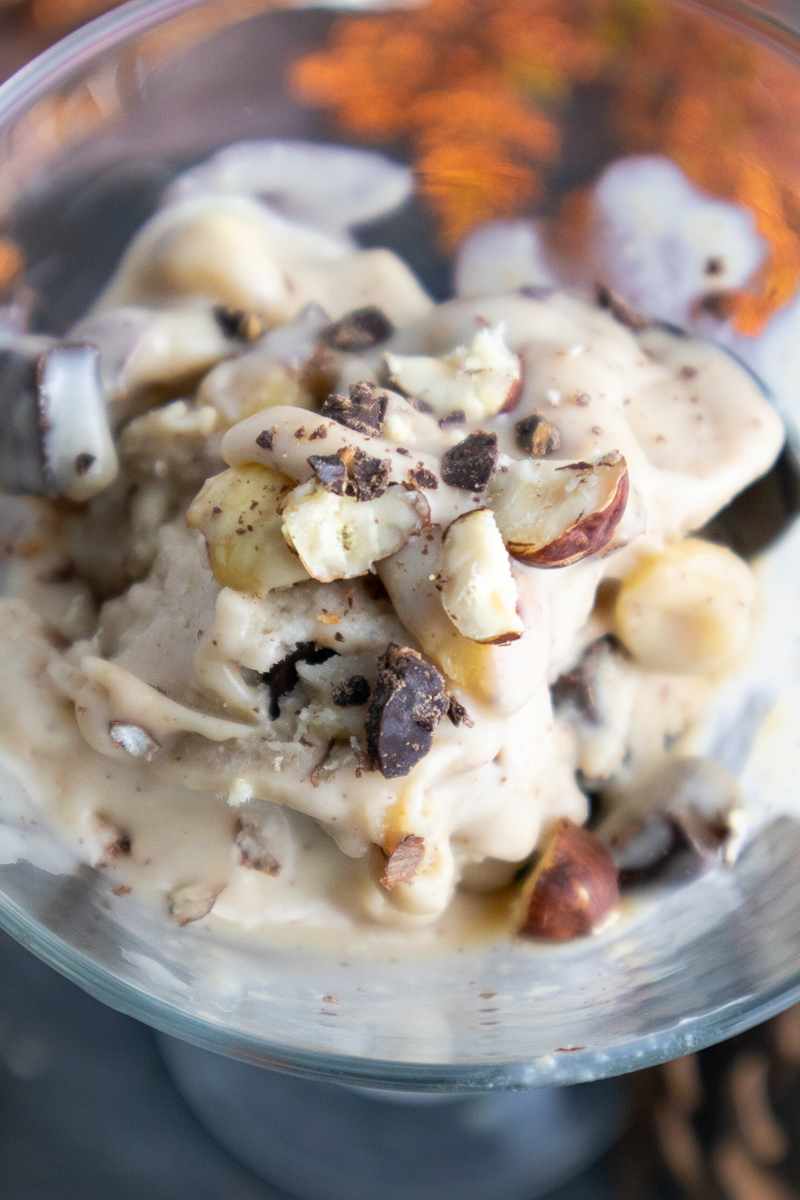
The add-ins are where the magic happens. Crunchy chopped hazelnuts add a delightful texture, while generous chunks of vegan dark chocolate make every bite an irresistible experience. Together, they create an ice cream that feels like a gourmet treat, but is simple enough for anyone to make at home with just a few ingredients.
Perfect for those hot summer days or any time you’re craving a sweet treat, this recipe is naturally sweetened with maple syrup and infused with vanilla for a cozy warmth. It’s an elevated twist on traditional ice cream, and once you try it, you’ll be amazed that something this good can be homemade, dairy-free, and completely plant-based!
Why You’ll Love This Chocolate Chunk Hazelnut Ice Cream
Gourmet Flavor Experience: This Chocolate Chunk Hazelnut Ice Cream offers a sophisticated flavor combination that’s sure to impress. The creamy base, made from full-fat coconut milk and cashew butter, provides a rich, silky texture that melts in your mouth. Tahini adds a unique nutty depth, while the crunchy hazelnuts bring a delightful contrast. The vegan dark chocolate chunks add pockets of intense cocoa flavor, making each bite an indulgent experience. It’s a gourmet treat that captures the essence of premium ice cream with a blend of textures and tastes that elevate the traditional dessert.
Effortless Creaminess: Achieving a luxuriously creamy ice cream at home typically requires an ice cream maker, but this recipe bypasses that need, making the process incredibly simple. By using ingredients like full-fat coconut milk and cashew butter, you create a smooth and rich base without the need for churning. This approach not only saves you from extra equipment but also ensures that your homemade ice cream is as creamy as the store-bought varieties. The result is a fuss-free, deliciously creamy treat that you can whip up with minimal effort, perfect for spontaneous indulgence or planned dessert occasions.
Substitutions
Coconut Milk: Use full-fat, canned coconut milk. This should not be in a carton, and it should not be reduced-fat (for maximum richness)! However, if you do prefer a lower-fat ice cream (which will also be more icy) you can use a reduced-fat coconut milk, or swap in oat milk, cashew milk or almond milk.
If you do use coconut milk from a can, just be sure to shake it if you take it out of the refrigerator – the cream and water will separate from one another, and it needs a good shake to form the milk again.
Agave Nectar: Swap in 100% pure maple syrup. Choose a light syrup (the darker the maple syrup, the more robust the maple flavor is).
Cashew Butter: Swap in tahini or almond butter. However, the taste of tahini will be quite strong, so the cashew butter helps to balance it out and brings in a more buttery flavor.
Tahini: Use more cashew butter, or almond butter.
Dark Chocolate: Most dark chocolate is vegan, but check the ingredient label on a dark chocolate bar to ensure it does not contain animal products (70% dark chocolate works well, but if you prefer a less sweet version, you can use a higher percentage). If you prefer a sweeter ice cream, use semisweet chocolate instead. You can use chocolate chips instead of chunks, but the recipe is a bit more indulgent using the uneven-ness of using chocolate chunks (where some scoops will have a larger piece of chocolate than others, that’s the fun of it, right?!)
Hazelnuts: Use raw hazelnuts, which then get roasted to bring out their nutty flavor. If you buy pre-roasted hazelnuts, you can skip this step (note that some roasted nuts already contain a lot of added salt, in which case you might have to adjust the saltiness of the recipe). Do not substitute with another nut – the flavor of hazelnuts can’t be replicated with a substitution!
Chocolate Chunk Hazelnut Ice Cream Recipe Notes
- The stirring process every hour is key to achieving that classic ice cream consistency without an ice cream maker. Don’t skip this step, as it helps prevent large ice crystals from forming and ensures a smooth final product.
More Recipes You’ll Love
Roasted Strawberry Crumble Ice Cream
Cherry Chocolate Chunk Soft Serve
If you make this No-Churn Chocolate Chunk Hazelnut Ice Cream, then leave a comment and star rating! Don’t forget to tag your photos @peanut_palate on Instagram. Enjoy!

No-Churn Chocolate Chunk Hazelnut Ice Cream
Equipment
- Whisk
- Skillet
- Clean Kitchen Towel
Ingredients
For the Ice Cream
- 1 cup full-fat, canned coconut milk
- 2 tbsp agave nectar
- ½ tsp vanilla extract
- ¼ cup cashew butter
- ¼ cup tahini
- ½ tsp pink salt
For the Add-Ins
- 2 tbsp raw hazelnuts
- 2 tbsp vegan dark chocolate bar chopped
Instructions
- Whisk together all the ingredients for the ice cream in a bowl. If the cashew butter or tahini have clumps, melt them before using.
- Once a smooth mixture has formed, pour the mixture into a shallow, airtight container.
- Place in the freezer, with the lid on. Stir it every hour, until it reaches the desired texture. This will take around 5-6 hours.
- In the meantime, prepare the hazelnuts. Heat a skillet over medium heat, and add in the hazelnuts. Do not chop them – keep them whole.
- Stir them around for just a few minutes, until you can smell the aroma. Taste test a small piece – if you can taste that "hazelnut" flavor coming through stronger than the raw nuts, then turn the heat off and set them aside. They will burn very quickly, so keep a close eye on them!
- Once they are toasted, add the nuts to a clean kitchen towel. Rub them together with the towel to remove the skins.
- When most of the skins have been removed, chop up the nuts. Then set them aside.
- Once the ice cream has achieved the desired texture, remove from the freezer.
- Gently fold in the chopped hazelnuts and chocolate. Serve right away, or place in the freezer and thaw to the desired consistency before serving.
Notes
-
Storage
- Store in an airtight container in the freezer for up to two weeks. Thaw to the desired consistency before serving.